
Video marketing is a powerful force that can no longer be ignored.
84% of marketers say that video has helped them generate more leads, and it’s a more interactive and engaging experience than text alone. But there’s a lot that goes into creating effective video posts—from filming and editing to compressing and uploading. It can be a lot to take on, especially if you’re just getting started.
This explanation of video production will give you a step-by-step workflow for creating videos that are polished and ready to share with your audience.
Why Is Video Production Important?
Video production is the process of creating videos for a specific purpose, such as marketing, education, or entertainment.
When it comes to marketing, video production can help you:
- Generate more leads
- Increase conversion rates
- Improved click-through rates
- Make your product or service more relatable and engaging
- Build trust with your audience
In today’s online landscape, video is one of the most effective ways to reach and engage your target audience.
What Are The Steps In Video Production?
The steps in video production vary depending on the project. For example, a corporate explainer video will have different requirements than a wedding video. But in general, the steps in video production can be broken down into these six stages:
1. Determining the Video Format
There are several different formats you can use for your video, each with its own benefits and drawbacks. Some of the most common video formats are:
- Live action: This is footage of real people or animals that is filmed with a camera.
- Animated: Animated videos are created using software, like Adobe After Effects or Blender.
- Whiteboard animation: Whiteboard animation is a type of animated video where the artist draws on a whiteboard while narrating the video.
The video production format depends on the type of video you choose to create. For example, if you are a SaaS company marketing manager and want to create an explainer video, you will likely want to use an animated video format. Conversely, a product marketer might choose a live action format to show off a new product in use.
2. Pre-Production
After you’ve determined the format of your video, it’s time to start planning the production. This stage is known as pre-production, and it’s when you’ll determine the:
- Target audience: Who are you making this video for?
- Purpose: What is the goal of the video?
- Message: What do you want your audience to take away from the video?
- Duration: How long should the video be?
If you’re working with a team, this is also when you’ll determine roles and responsibilities. Usually, there will be a few different roles, including a producer, a scriptwriter, a videographer, and an editor.
3. Writing the Script
Once you know who your video is for and what it’s supposed to achieve, it’s time to start writing the script.
A good script will:
- Be clear and concise
- Engage the audience
- Deliver the key message
- Include a distinct call-to-action (CTA)
The script should be as concise as possible while still delivering the key message. In some cases, this means that your script will be 30 seconds (or less). In others, it may be several minutes.
It’s also important to consider the voice of your video. Are you trying to be serious or humorous? Formal or informal? The tone of your video should complement the overall tone of your brand.
4. Creating the Video
Once the script is written, it’s time to start filming the video. This stage is known as production, and it’s when you’ll actually shoot the footage for your video.
During production, it’s important to keep in mind the following:
- Visuals: What will your audience see in the video?
- Audio: What will they hear?
- Storytelling: How will you engage your audience and keep them watching?
During production, you’ll also want to pay attention to the quality of your video. Poor lighting, low-resolution footage, and bad audio can all make your video look unprofessional.
5. Editing Your Video
After filming is complete, it’s time to start editing the video. This stage requires a lot of attention to detail, as you’ll need to ensure that the video is:
- The right length
- Visually appealing
- Engaging
- On-brand
- Free of errors
It’s also where your video will come to life, so it’s important to take your time and create a video that you’re proud of.
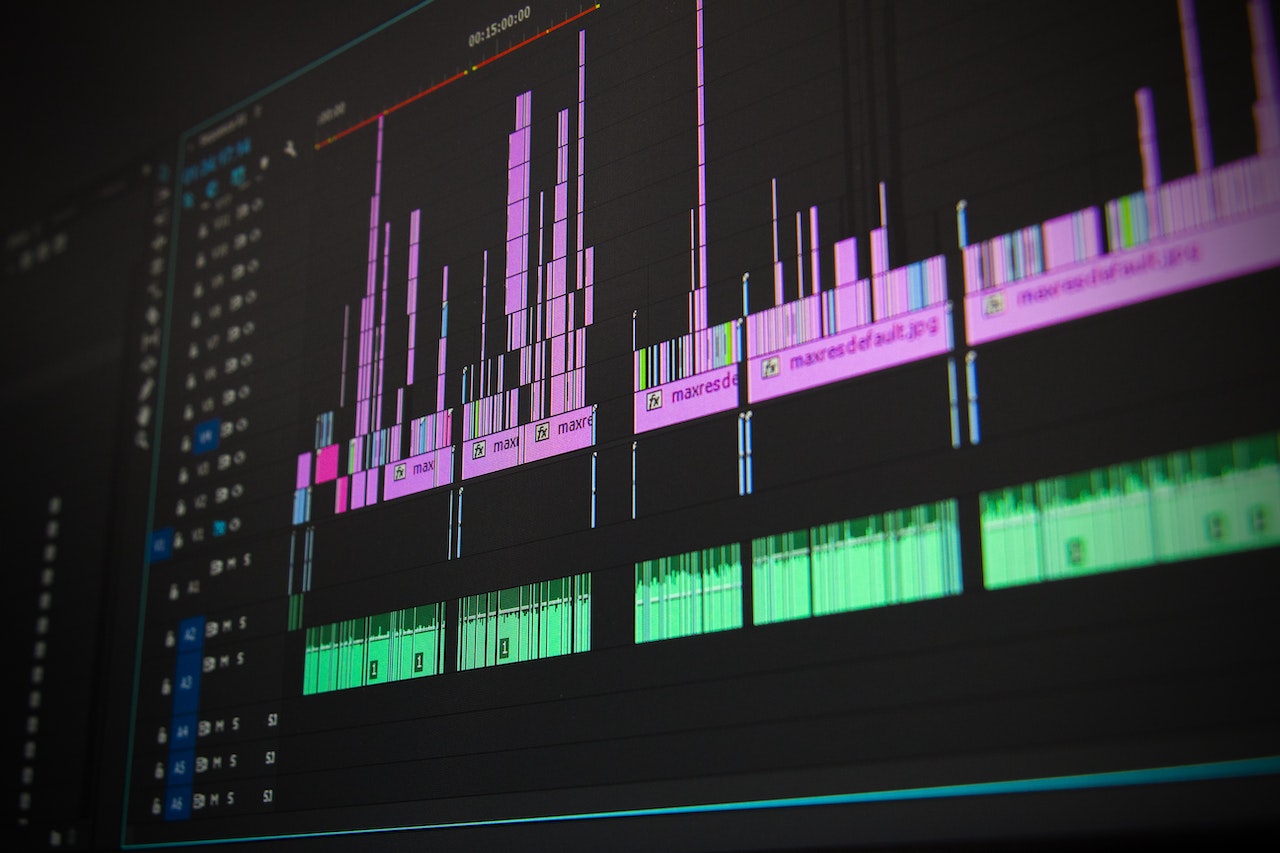
6. Post-Production
After your video is edited, it’s time for post-production. This is the final stage of video production, and it’s when you’ll:
- Add graphics
- Create animations
- Insert images
- Add music
- Choose a color scheme
The post-production process allows you to add your own personal touch to the video. This is also where you can get creative and have some fun with the project.
Final Thoughts
Once your video has made it through the post production process, it will be ready to be published and shared with your audience. Be sure to pay attention to video ad specs on each platform so your video is properly formatted before you hit publish.
Video post production is a detailed process, but it’s one that can really pay off. By taking the time to produce a high-quality video, you’ll be able to engage your audience and deliver your message in a clear and concise way.