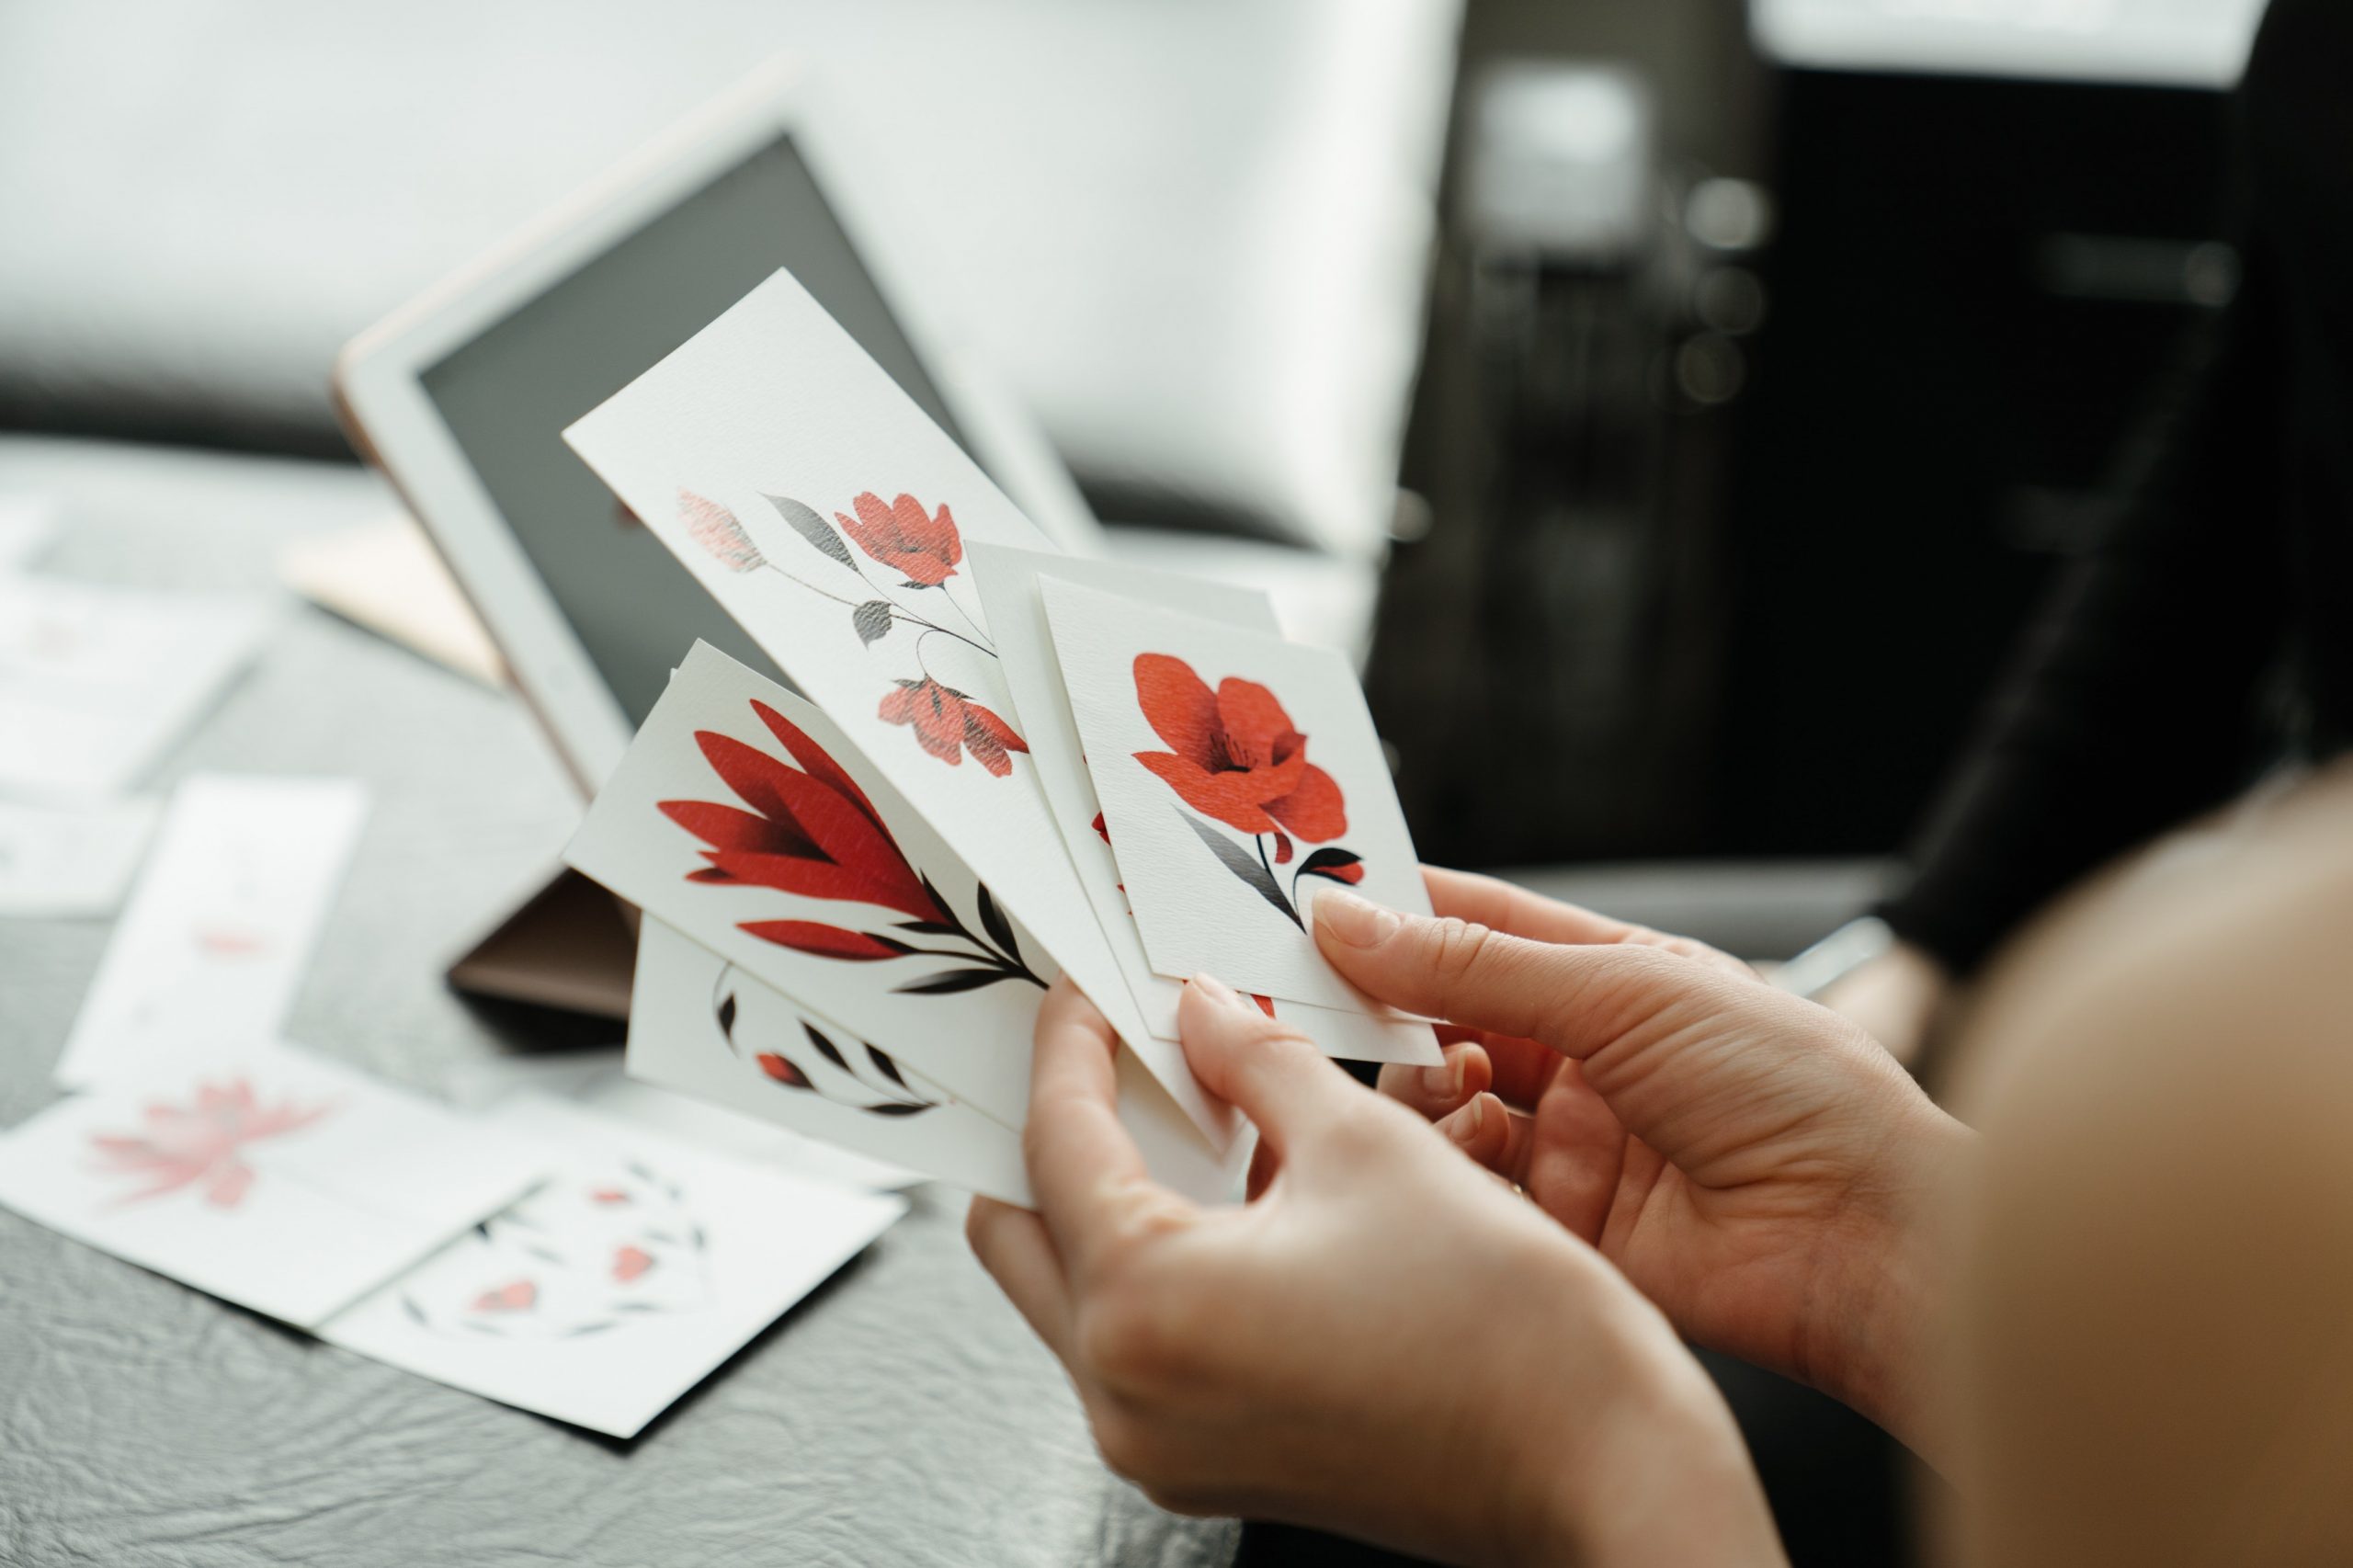
Stickers are always exciting and colorful. They are used for everything. People stick them on refrigerators, on the office desk, on small packages around the house to indicate what spice is in them, etc.
Stickers are widely used in everyday life. But, it happens that sometimes we can’t find the sticker we need, right? Why not make it yourself? This can be done with a simple printer for stickers and a little time for creativity.
Are you wondering if they can be as good as purchased stickers? The short answer to this question is YES! You can make stickers of the same quality at home, and you won’t even notice the difference.
If you have already decided to start creating and printing your stickers, here are some tips on making them look as high quality as possible.
Sticker Paper Must Be Good
If you want your stickers to be good when you print them, you need to get the best possible paper. Sticker paper must have two sides. The front is used for printing, and the design you created goes on it.
The back is self-adhesive and slimy and has a thinner foil that protects the glue until you remove it. There are two variants of paper that you can use in the printer for stickers.
1. Paper labels
Paper labels are the simplest to use and are used mainly for printing various name tags, labels, or photo stickers. You can buy them already cut, and you can find them in different shapes. They can be oval, round, square.
They also have multiple dimensions and sizes. This is great if you need stickers for some labels on bottles or any smaller objects. There are also uncut or whole sticker papers that require you to cut the sticker yourself at the end of printing.
If you opt for them, keep in mind that you will need a paper cutting tool.
2. Vinyl sticker paper
Vinyl paper labels are more convenient. They are affordable and a much better solution to make a high-quality sticker at home. You can even make them waterproof. This will make them more durable than stickers printed on plain paper.
For vinyl stickers, you will need better quality ink so that they do not fade over time. If you want to make the highest quality sticker at home, then vinyl paper is a much better choice.
3. Choose Good Colors
The choice of colors is essential. If you want to make a good design without the colors getting mixed up and looking bad, then the right color choice is critical. Bolder colors are generally used to print stickers.
If you use lighter colors such as soft pink, it will look almost white on the sticker. Ensure that the sticker’s edges are filled with more intense colors, and use the lighter ones for the sticker’s central part.
See which color quality is best on the market. Stickers should be durable, and their color should not fade over time. Always make sure that if you start printing at home, you have enough ink to print all the stickers.
4. Make Your Sticker Waterproof
We all want the product we make to be high quality and long-lasting. The good thing is that, with stickers, you can do everything at home without having to go out and buy the waterproof paper that’s pre-made for stickers.
Of course, it won’t last forever, but it’s good to know that you can improve the durability of stickers. As already mentioned, the vinyl paper is the closest to waterproof. But if you don’t have it or have plain sticker paper, there is a way to secure the sticker yourself.
One of the things you can do to get started is to buy waterproof printer ink. That way, your design will be protected by itself. The next thing is to take some acrylic spray and apply it to your sticker paper after printing it.
Apply a small layer of transparent acrylic spray over the paper and let it dry nicely. This way, your sticker will have double protection, and you don’t have to worry that any external factor will destroy it.
5. Use a Good Sticker Cutting Tool
The final part is cutting the stickers. To cut them as accurately as possible, you will need some good tools. You do not want your paper to tear or wrinkle when cut. So if you decide to cut them by hand, do it with some very sharp scissors or get a paper cutter.
It is possible to cut the sticker perfectly only if your hand is steady. That can be very interesting. If you still don’t have the nerve for something like that, then it’s best to get a cutting machine to make your sticker look perfect.
The choices are up to you but be sure that both methods work correctly.
Conclusion
If you’ve ever wondered if it’s possible to make and print the perfect sticker at home, now you know it is. All this may seem like a lot of work, but it is also a fascinating job. With these tips, we hope that you can show your creativity and make the highest quality printed sticker at home.


Leave a Reply